In this chapter, we are going to learn how to set up the .Net environment in various platforms. We will be using .Net Core implementation of .Net framework throughout this course. If you don't want to progress with .Net core, there is no problem, all of the examples can be executed on other .Net implementation. So let's get started.
You first need to setup Visual Studio on your machine. We will be using Visual Studio 2017 community edition. Visit this link to download the free community version of Visual Studio. You can also purchase the Professional or Enterprise version if you are planning to setup at your organization's workstations.
Download the Visual Studio community version from this link.
Download Visual Studio 2017
Please note that Visual Studio IDE is not available for MacOS and Linux. However, you can download and use "Visual Studio Code" if you are working with Mac and Linux machines.
Installing Visual Studio
Once you download, you will find an executable file named "vs_community.exe" in your downloads directory. Run this executable file.
Click "continue" to accept the license terms.
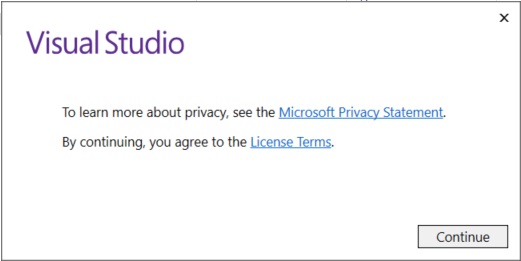
Now, in the next page of setup you will find sections of workloads. Here, we will select the following workloads and these are good to go for any application development and this course.
- .Net desktop development
- ASP.Net and web development
- .Net Core cross-platform development
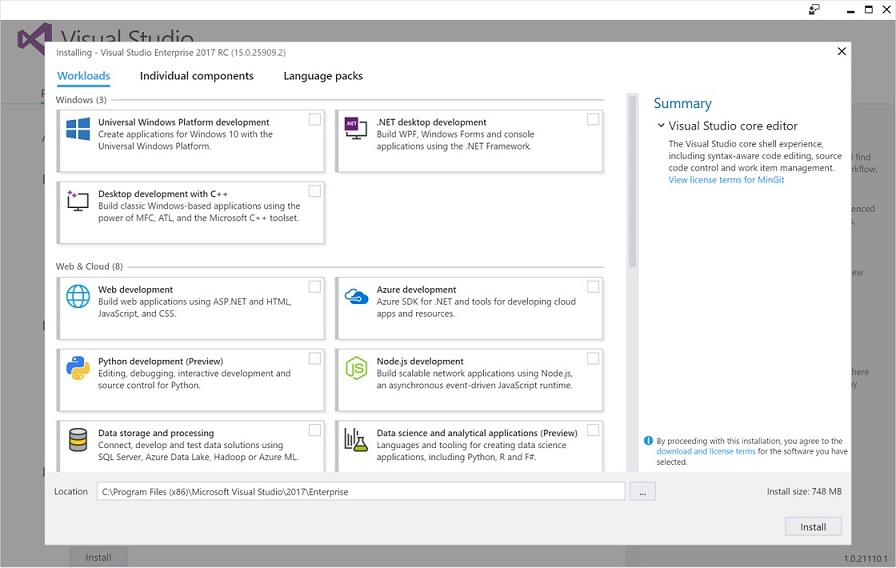
You can add more workload(s) as per your needs. After selecting these 3 workloads, click Install.
Great, you have completed installing Visual Studio 2017 on your windows machine. If you find any issues, let me know in the comments section at the bottom of this page.
Writing a "Hello World" program in C#
Now, we are going to write a simple "Hello World" program in C#. Don't worry about the code at this point in time, this will be explained in detail in later chapters. We will first write this program using a console and then using Visual Studio 2017.
Using command prompt
- Create or choose a directory for the practice sessions of this course.
- Create a new file "HelloWorld.cs" in the directory.
- Open this file "HelloWorld.cs" in notepad and write the following code.
using System; class Program { public static void Main(string[] args) { Console.Write("Hello World!"); } } - Save this file.
- Open "Developer Command Prompt for VS 2017" from the program menu.
- In this console, go to the folder created in Step 1
- Run the following command:
csc HelloWorld.cs
This will create an exe file in the same folder. - Now run this executable file in the console.
HelloWorld.exe
You will see the output "Hello World" in the console screen.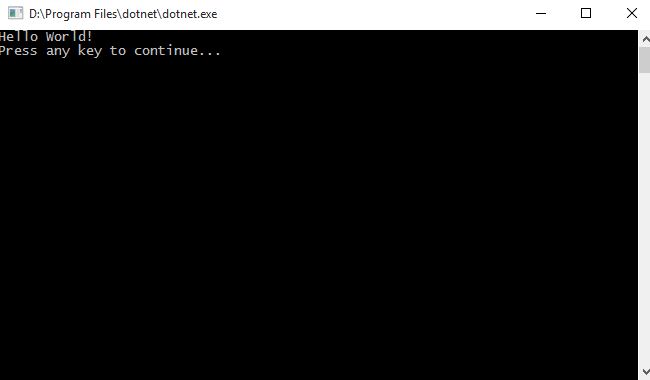
Using Visual Studio 2017
- From windows installed programs menu, Launch Visual Studio 2017.
- In Visual Studio, go to File > New > Project and expand Visual C# and then select .Net Core. Select "Console App (.Net Core) from the templates provided in the middle section of the dialog box. Enter a name for your project and click "OK".
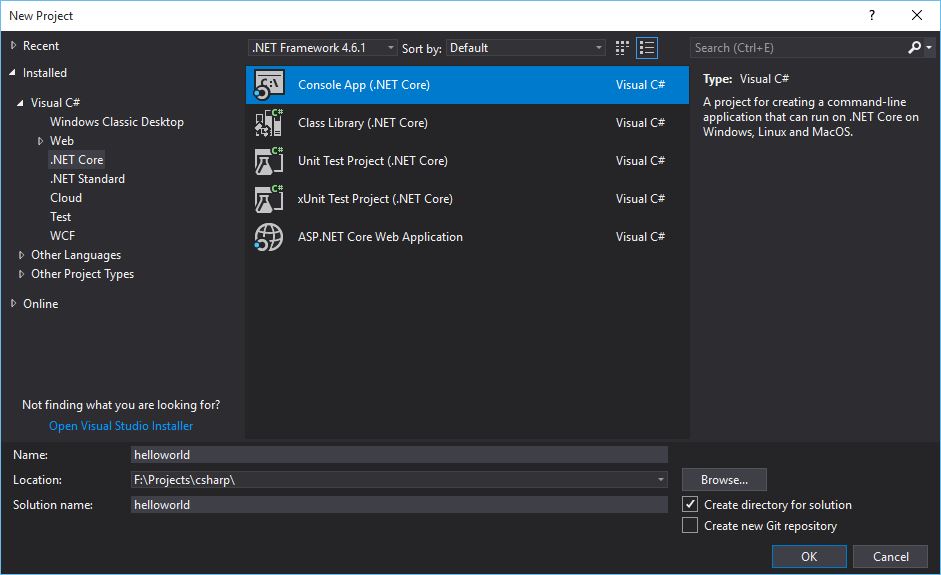
- Now, a new C# file is created with the following default code. This is pretty much similar to what we did write in the Console app.
namespace HelloWorld { class Program { static void Main(string[] args) { Console.WriteLine("Hello World!"); } } } - Now add the below two lines under the Main(..) method:
Console.Write("Press any key to continue..."); Console.ReadKey(true); - Your final program will look like the following
using System; namespace HelloWorld { class Program { static void Main(string[] args) { Console.WriteLine("Hello World!"); Console.Write("Press any key to continue..."); Console.ReadKey(true); } } } - From the Visual Studio menu bar, Click Build > Build Solution
- Now, from the toolbar, click the green button to execute the program. You can see the output similar to the following screen.

